Growing up in a Greek/Irish household, I had my fair share of both the Mediterranean diet, and a hearty amount of meat and potatoes. 🙂
With the Greek side, something I grew up to love were the Greek cookies. These included two types of cookies specifically:
- Koulourakia Greek Easter Cookies (also called Greek Braided Cookies)
- Kourabiedes Greek Butter Cookies with Powdered Sugar
My Yia-Yia (grandmother in Greek), used to make them for us at every holiday, not just Easter. And they are oh so good. Now that we’re all older, things have changed.
My Yia-Yia can’t really do much baking anymore, and we can’t use the same recipe anymore, because now I have a gluten allergy! But that didn’t stop my aunt from adapting this recipe for people like me. I can’t express how special that is to me. I’m really excited to share this new gluten free recipe my aunt crafted, to help me keep enjoying my Greek Butter Cookies!

Heads up: due to challenges with different gluten free flours and textures, this recipe has been adapted a bit for taste. This recipe could be considered somewhat of a combination of Koulourakia and Kourabiedes because we combine some of the flavors and techniques. If you want to go one direction with it, you definitely can. We’ll have helpful tips and warnings below for how to avoid overly dry cookies, dough, etc.
Gluten Free Greek Cookies Recipe
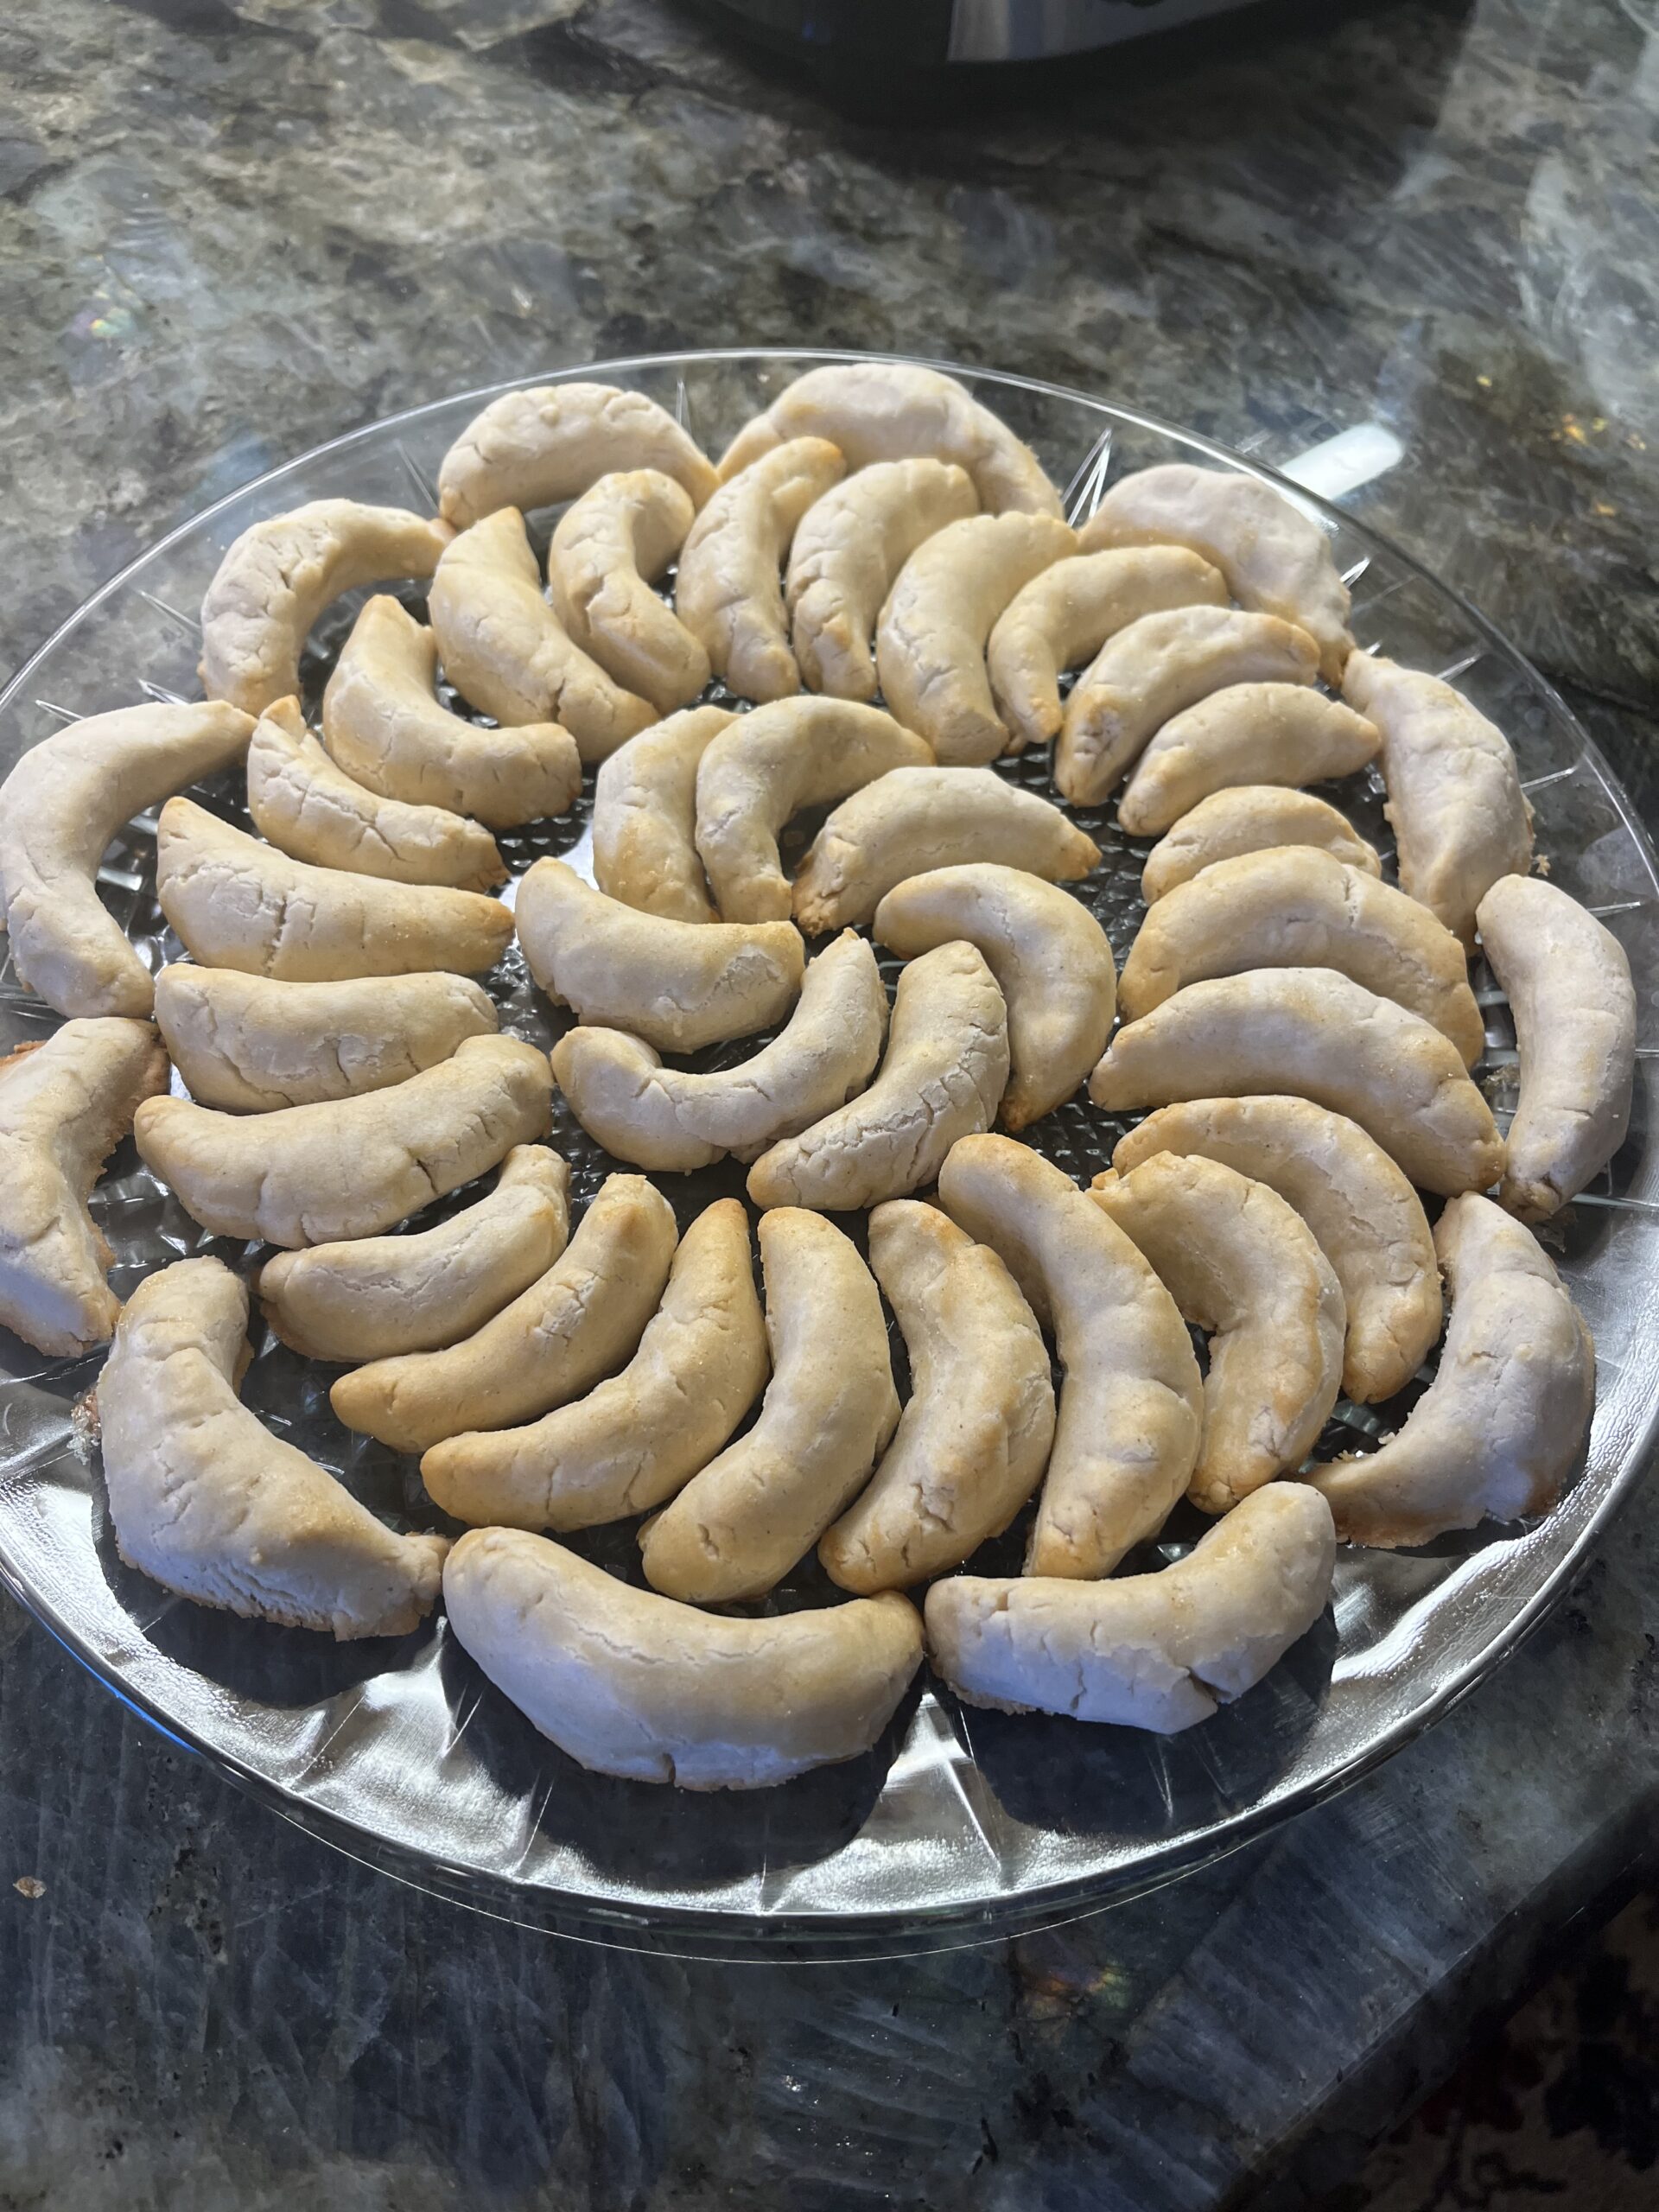
The tastiest gluten free Greek butter cookies you’ve ever tried. All my friends who aren’t gluten free were impressed, which I always take as a good sign!
Ingredients
- 3.5 cups gf flour (King Arthur, Bob’s Red Mill, and Good & Gather are some good options)
- 2 sticks butter (sweet butter, unsalted)
- 1/2 cup sugar
- 1 pkg. Philadelphia Cream Cheese
- 1 tsp. vanilla
- 1 tsp. baking powder
- 1-2 egg whites (used for brushing over dough)
Recommendations
- Add a half or full stick of extra butter for richer flavor
- Add additional 1/4 cup sugar for richer sweetness
- Replace vanilla with almond extract if you prefer that flavor. Goes well with these cookies.
- Short: Freeze dough for 1-2 hours before rolling and baking.
- Long: If you have time, refrigerate dough 1 full night before rolling and baking.

Steps for Making the Cookies
This is the full list of steps and additional recommendations we have for making these cookies as delicious as possible. But remember, even we experiment with this, so feel free to push some of the boundaries. What I found when working with my aunt on this recipe is that, depending on the flour you use, it will impact the texture and consistency. So you may need to add a few drops of water, or more softened butter to really bring it all together. Don’t be afraid to explore this one.
1. Let butter sit out for 10-15 minutes to soften naturally.
2. Mix just the sticks of butter in a mixer for 20 minutes until super creamy. Stirring throughout.
3. Add 1 pkg. Philadelphia Cream Cheese to butter and continue mixing for 5-10 more minutes.
4. Add 1 tsp. vanilla or almond extract. Continue mixing.
5. Add 1 tsp. baking powder. Continue mixing.
6. Mix in 1/2+ cups sugar as needed.
7. Sift 3.5 cups of flour into the mixer and continue mixing in until dough forms.
8. Dough should not be sticky. If dough is sticky, add more gf flour. Refrigerate or freeze for the next few hours to further solidify it.
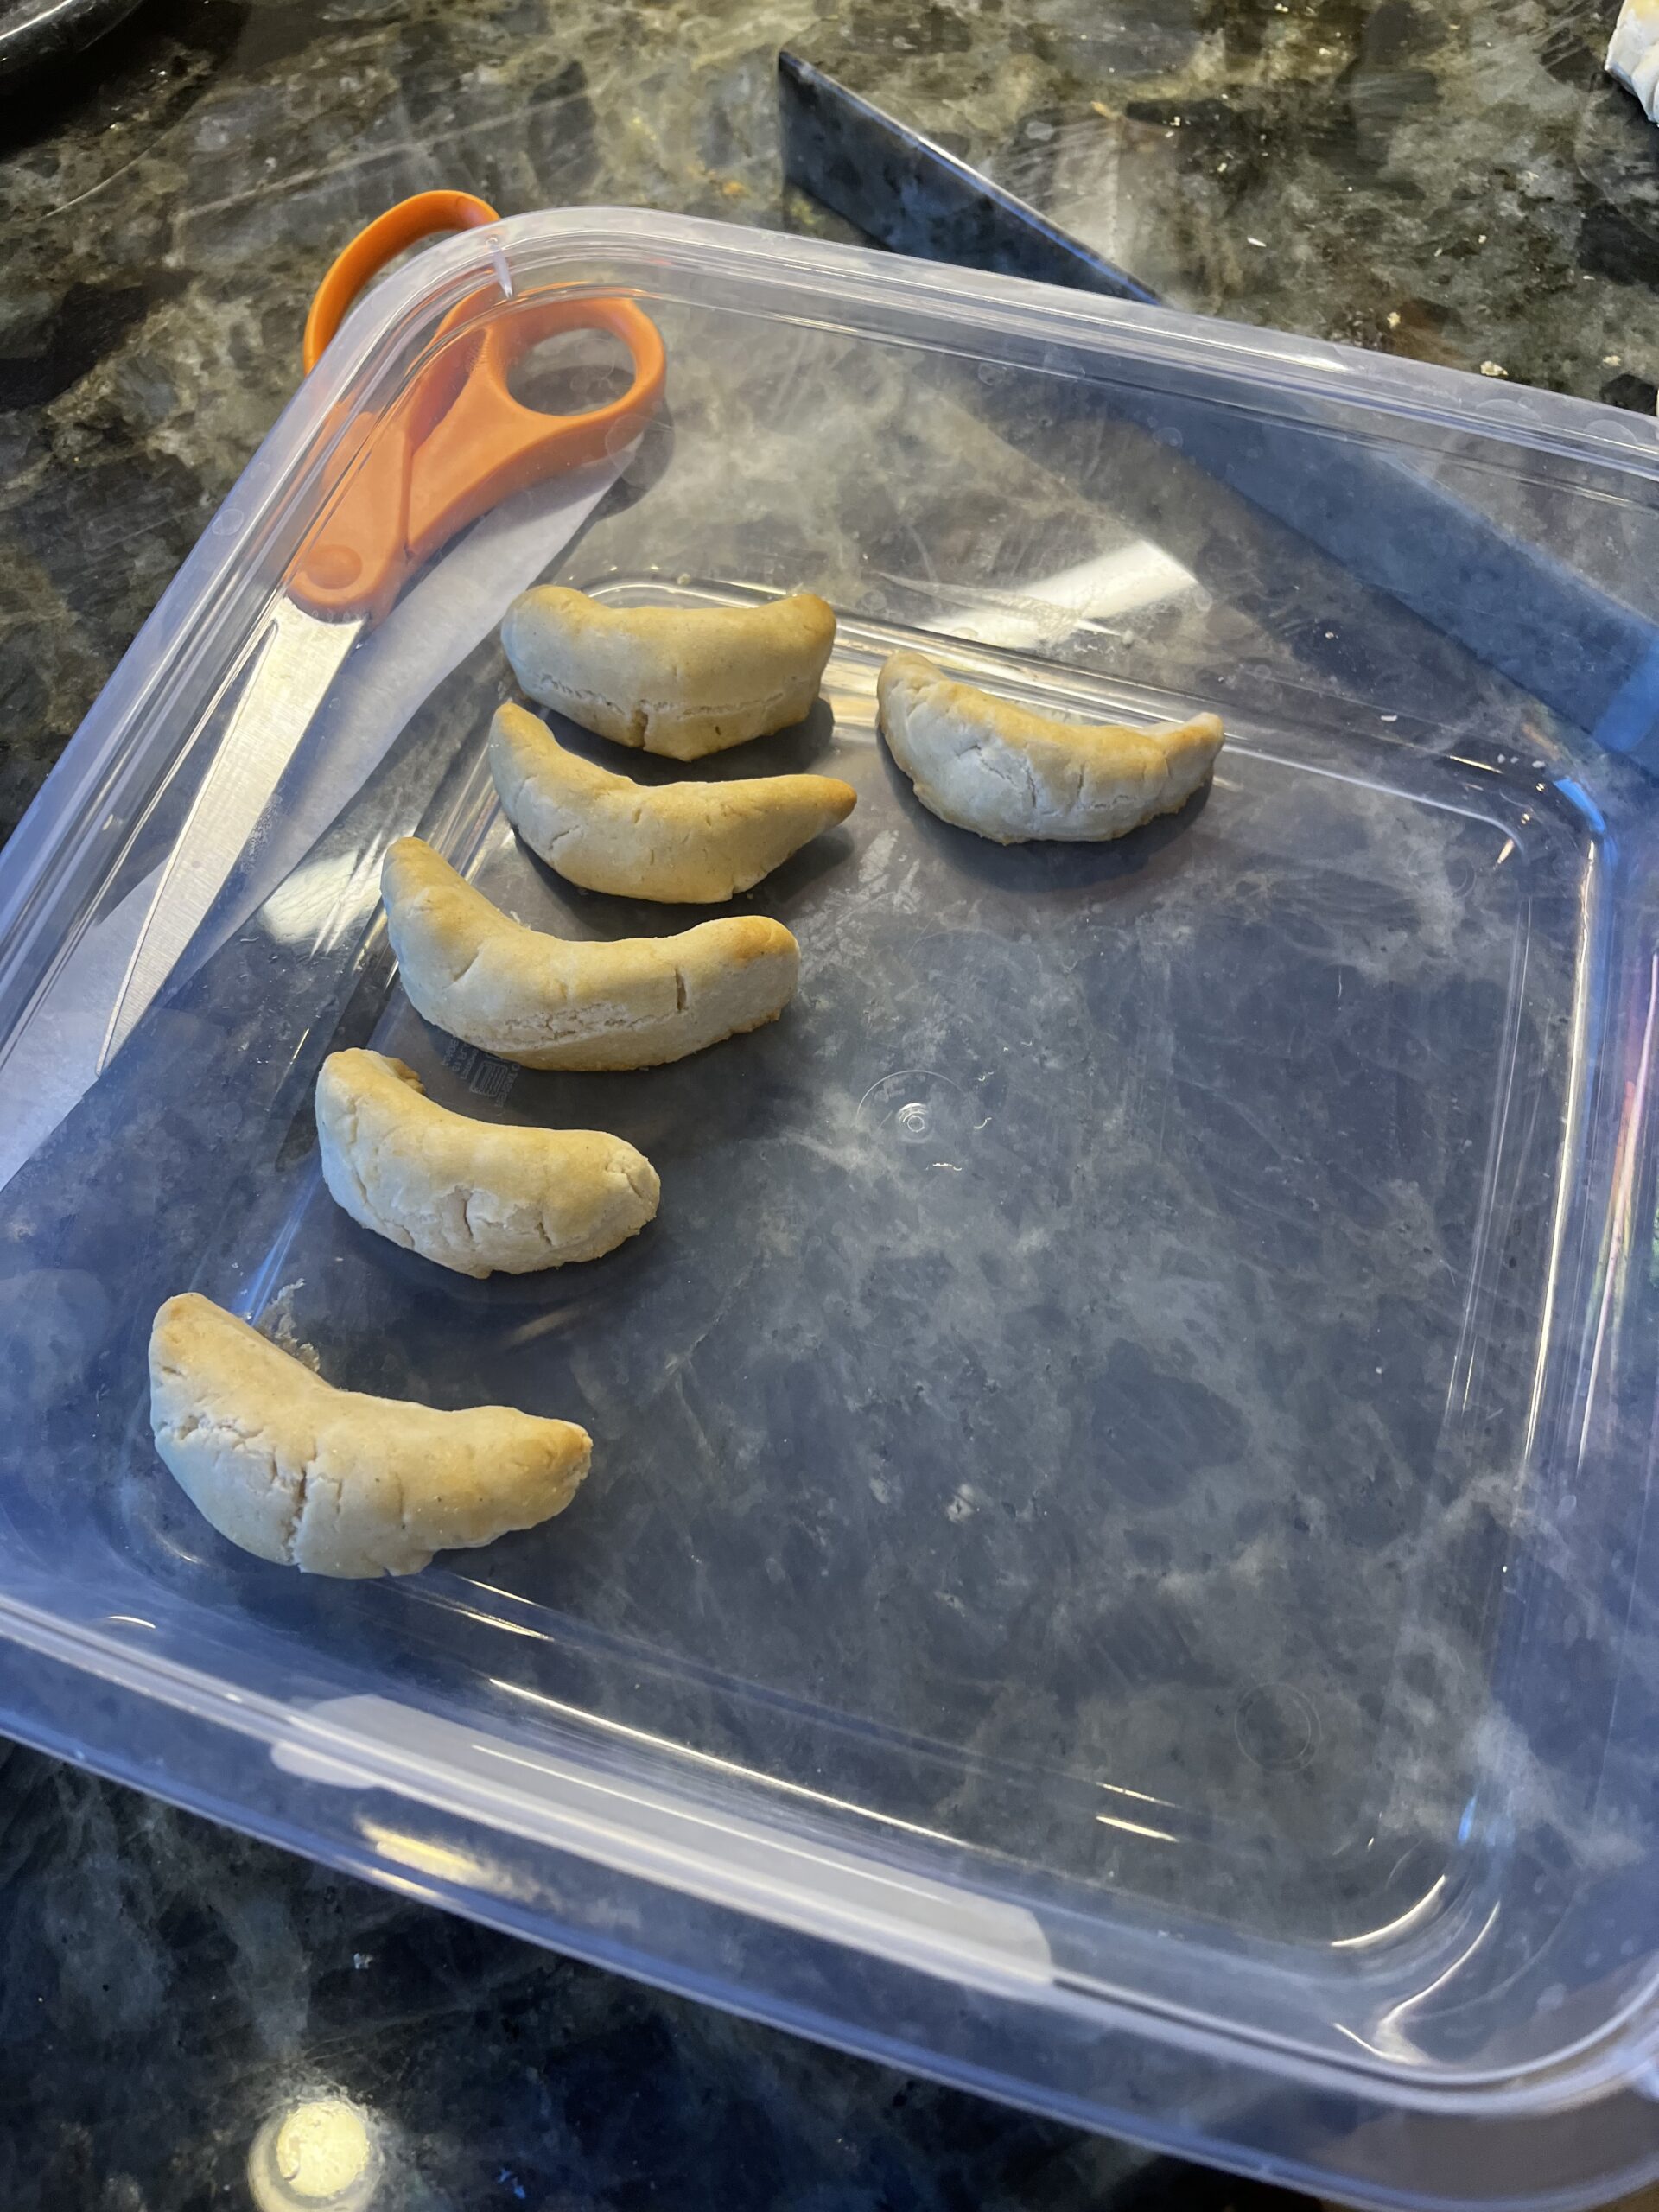
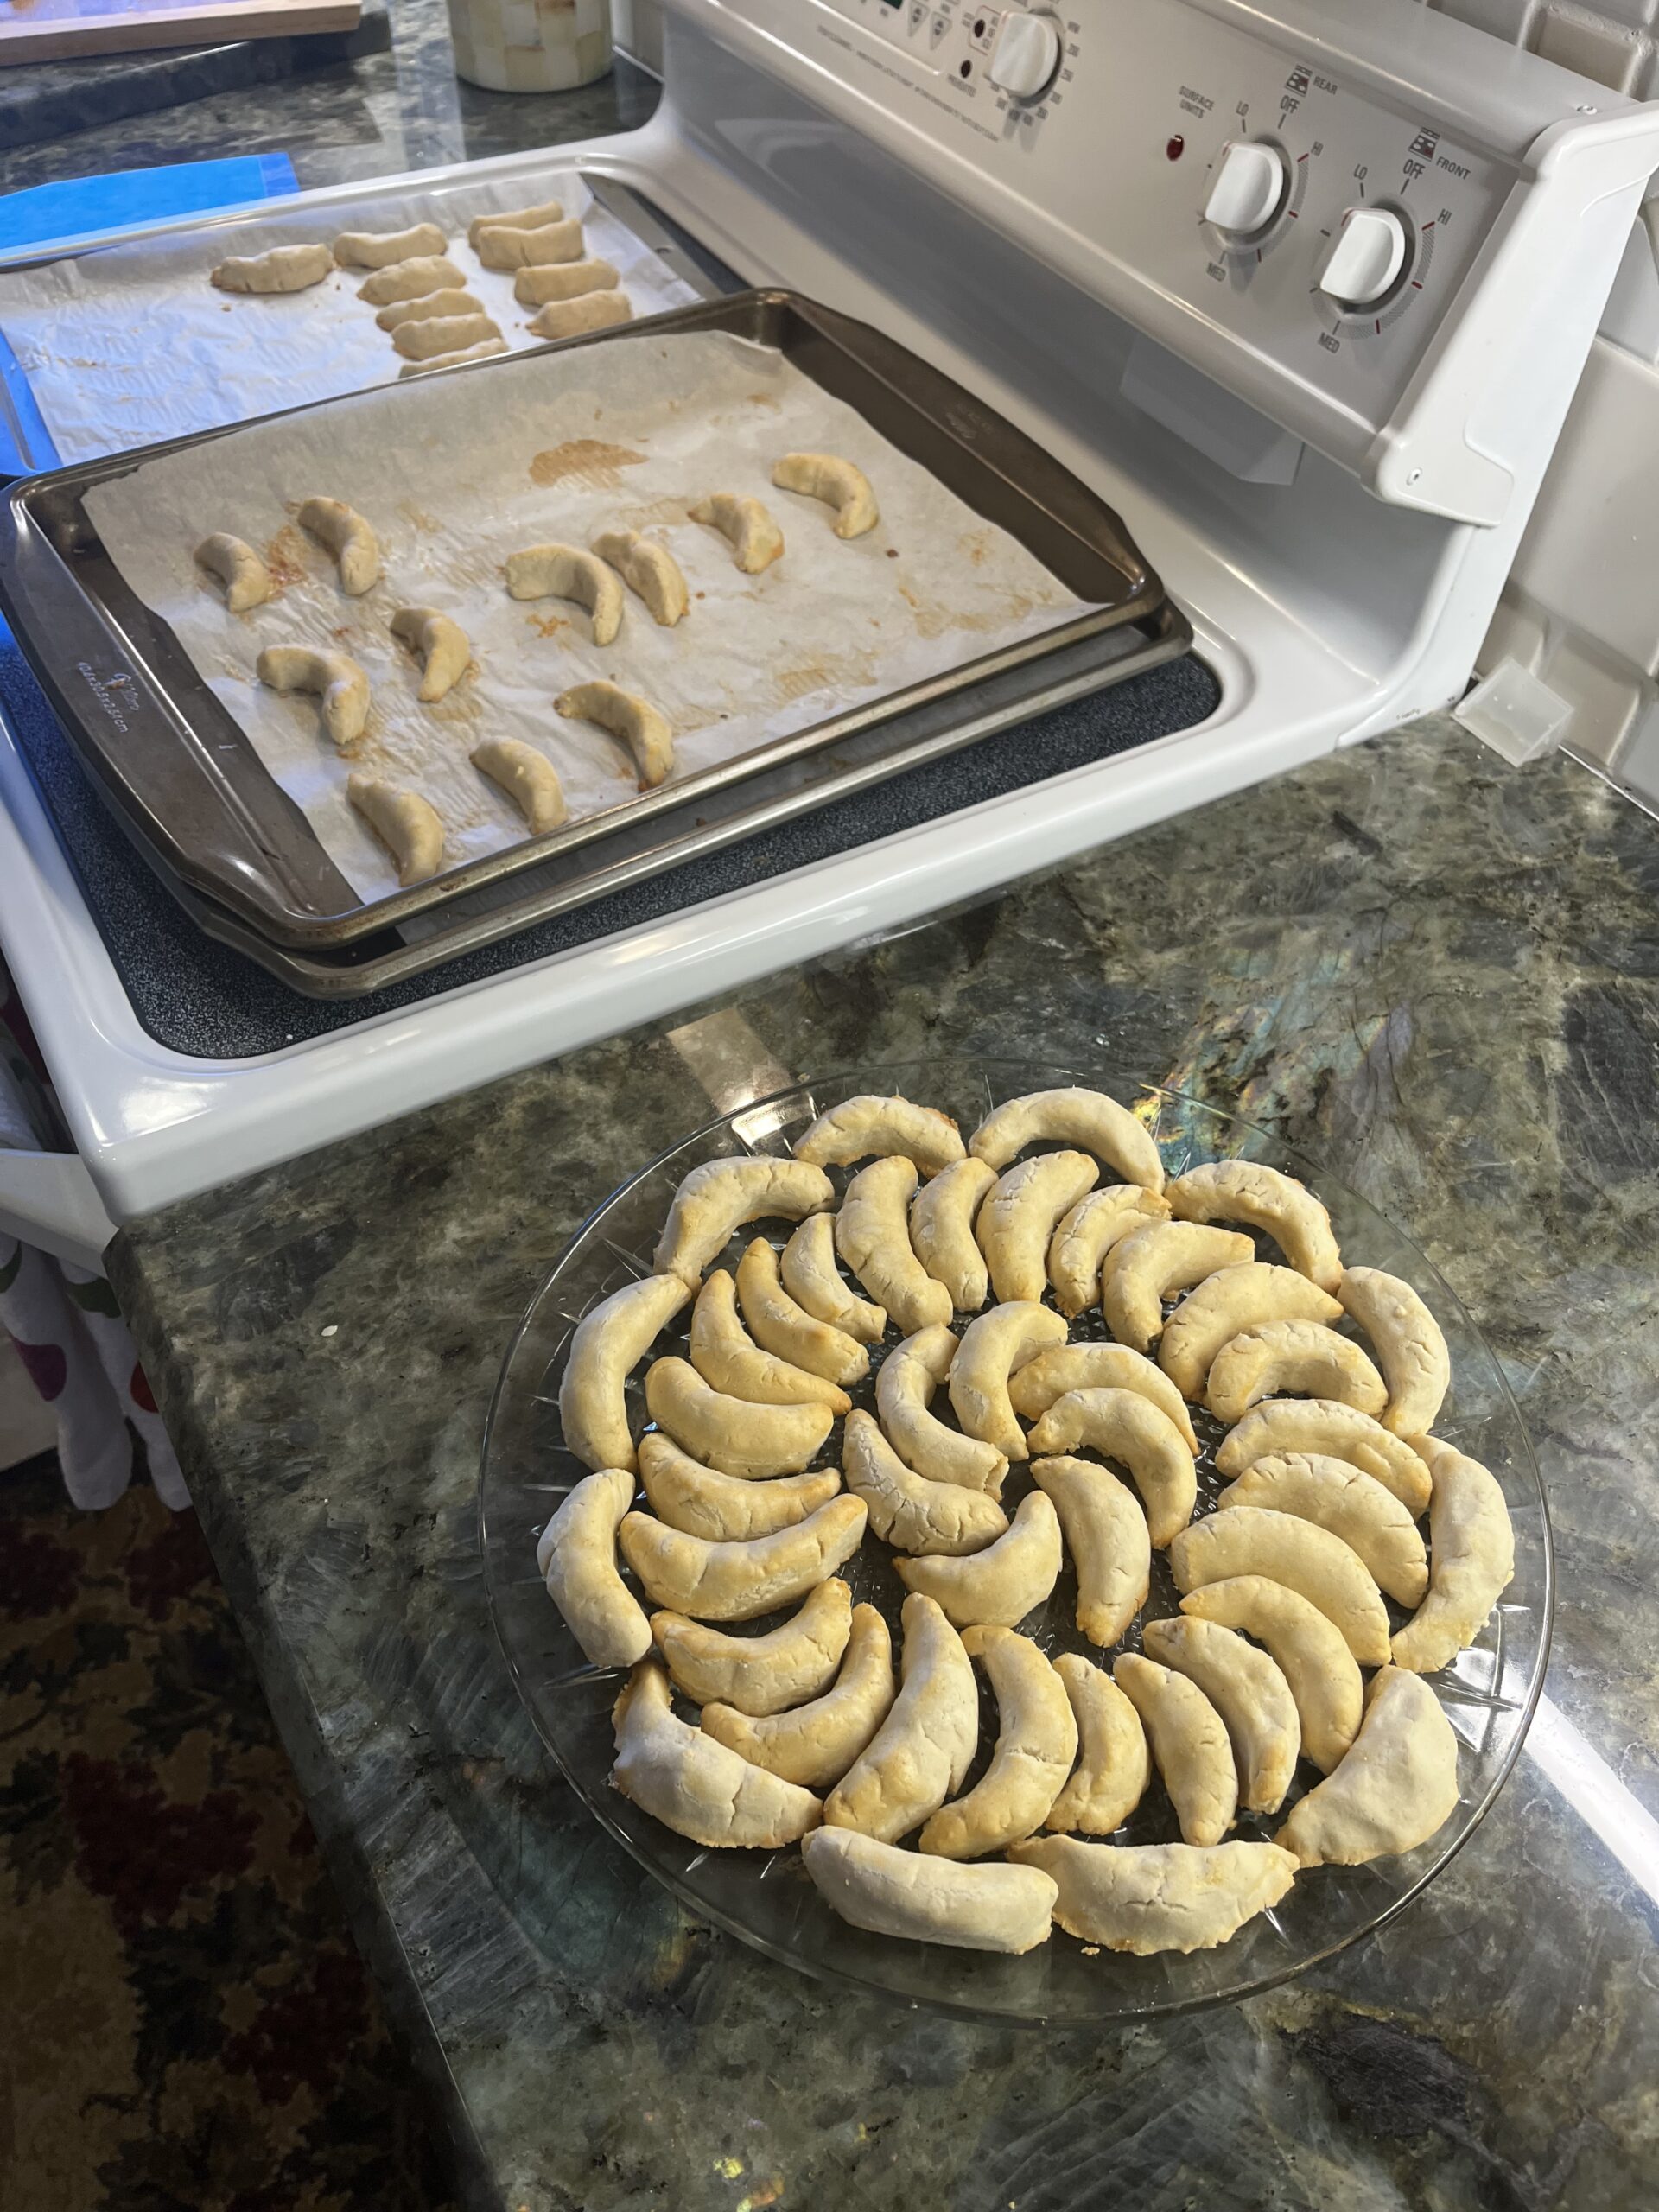
9. Once the dough is cool, you can take it back out and begin to roll the cookies. For this recipe, you can either braid them like Koulourakia or roll them into crescent shapes like Kourabiedes. The last time we made this (as you can see in the video above), we didn’t have a great consistency for braiding, so we opted for the crescent moon shape. Place onto parchment paper on pan.
10. Next, after forming all of the cookies and placing them on your parchment paper pan, brush the egg whites over the cookies.
11. Bake in the oven for 12-14 minutes at 375. Timing varies depending on consistency, so keep an eye on them. I always bake slightly less time because I prefer my cookies more chewy, and these can get burnt/hard pretty easily.
12. Take cookies out to cool, and then add powdered sugar for taste if needed.

Additional Information
That’s all there is to it! While there may seem like a lot of steps, it’s relatively easy with a mixer and the proper ingredients. The time consuming part is definitely waiting for the dough in the fridge/freezer and in forming the cookies.
These cookies are great for dipping in coffee or tea, enjoying at dessert, and for around the holidays. Enjoy them with family and friends.
Have any questions about the process? Leave a comment below! More gluten free recipes are coming soon.


