Are you ready to learn the recipe for the perfect cheesecake that only requires a handful of ingredients and turns out so rich and creamy? Find out below how to make a gluten-free cheesecake without compromising the taste. Trust us, it’s so smooth and silky and every bite is rich enough and sweet without being overwhelming. So, let’s get to the point!
What Makes This Cheesecake Gluten Free?
Before you find out how to make a gluten-free cheesecake without compromising the taste, let us explain what makes something gluten-free. As you can guess, the crusts are generally the most “problematic” part of the cake. Accordingly, all you need to do is look for gluten-free Grahams or make a crust with gluten-free flour or almond flour if you don’t mind a “nuttier” flavor and texture.
Speaking of gluten-free foods, check out the gluten-free menu items, sides, and other options available at The Cheesecake Factory, so you can be confident about what to eat next time.
Now, let’s get to the main part of this article.
How To Make a Gluten-Free Cheesecake Without Compromising the Taste?
According to everyone who has tried it, this is the closest thing to a “real” cheesecake. Try it and let us know your impressions.
Ingredients
Filling
- 1 cup cashews (preferably raw)
- 1 cup coconut cream
- 8 ounces cream cheese
- 1 tablespoon of cornstarch
- 1 tablespoon of vanilla extract (preferably pure)
- 2/3 cup maple syrup
- 1 tablespoon of coconut oil (preferably melted for an extra dose of creaminess)
- 2 tablespoons of lemon zest
- 2 tablespoons of lemon juice
Crust
- 3/4 cup rolled oats (make sure you choose gluten-free ones)
- 3/4 cup almonds (preferably raw)
- 1/4 teaspoon of salt
- 2 or more tablespoons of coconut sugar
- 4-5 teaspoons of coconut oil (unavoidably melted)
A complete step-by-step guide
Step No. 1:
- Add cashews to a mixing bowl and pour boiling hot water over them. Leave them to stand for at least an hour, but leave the container uncovered. After about an hour, drain the rest of the water thoroughly.
- Turn on the oven to reach the desired temperature on time, and line a standard loaf pan with parchment paper.
Step No. 2:
- Add oats, almonds, salt, and coconut sugar to the blender, turn on the highest speed, and let the ingredients mix until you get a fine meal.
- Turn off the blender (mandatory :D), open the lid, and add melted coconut oil. We recommend adding between 4 and 5 teaspoons, but you can add more if the mixture is too dry. Mix in a blender until a loose dough is formed, scraping the walls of the blender if necessary. How do you know that the dough mixture has reached the ideal texture? It’s very easy, you should be able to squeeze the dough between your fingers and shape it without it crumbling.
- Transfer the dough to the previously prepared loaf pan and spread evenly on all sides. The next step is very important, therefore try not to skip it, namely put parchment paper on top and press the dough firmly with a flat-bottomed object until it is evenly distributed and well packed. We usually use a drinking glass or similar object. Also, don’t forget to let come up the sides because it can be too thick on the bottom.
Step No. 3:
- It’s time to bake. It is difficult to determine the exact temperature and length of baking because not all ovens work in the same way, so we advise you to continue the process until the edges are golden brown and there is some browning on the surface. Take it out of the oven to cool down a bit, but don’t turn it off, just lower the temperature a bit.
Step No. 4:
- Clean the blender. Combine the drained cashews with coconut cream, cream cheese, arrowroot starch, vanilla, maple syrup, coconut oil, as well as lemon zest, and juice, put them in a blender, and blend until creamy and smooth. We recommend tasting the filling several times and adjusting the flavor if needed. Also, be sure to remove any air bubbles if they appear.
- Pour the prepared filling over the slightly cooled crust and bake for about an hour. How do you know it’s baked? Namely, shake the experiment, the edges should look a little dry, and on the other hand, the middle should only be “shaky”, but not runny or liquid-y.
Step No. 5:
- Let your cheesecake cool at room temperature for about 10 minutes, then refrigerate for a few hours, preferably overnight. We recommend covering the cake so that it doesn’t form a crust and dry out.
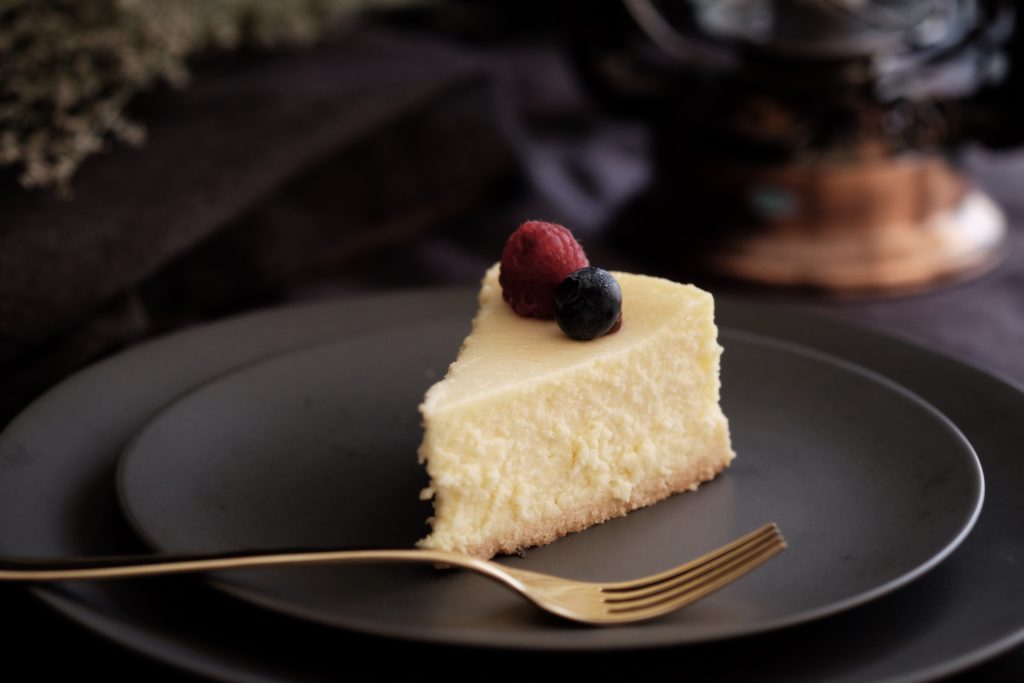
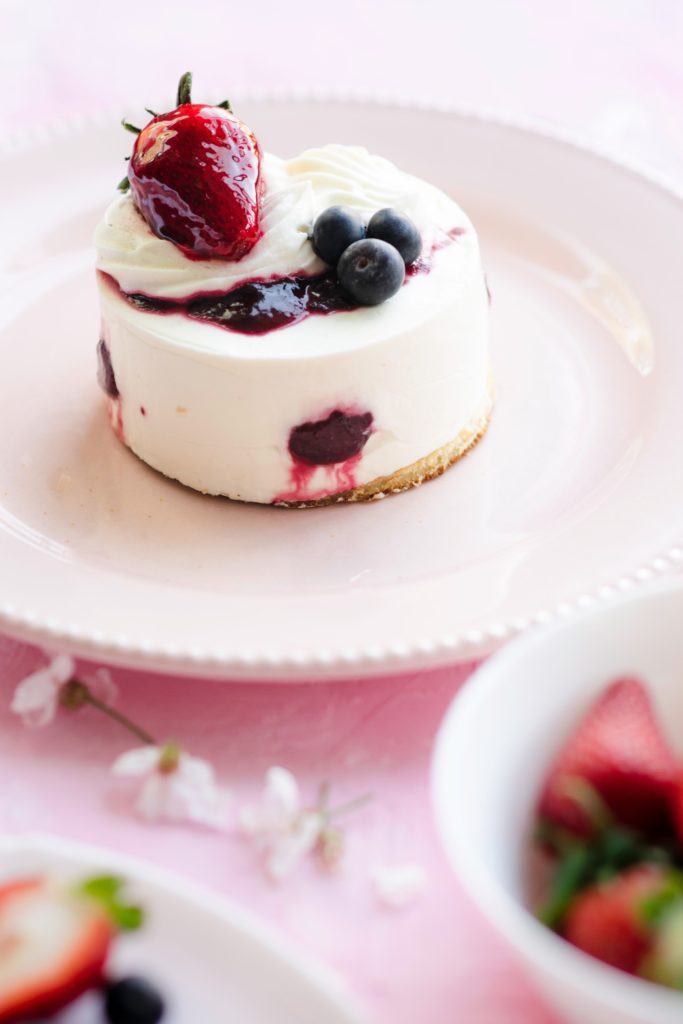
- That’s it, now you know how to make a gluten-free cheesecake without compromising the taste. It’s time to enjoy! You can serve it as it is or top it off with coconut whipped cream and fresh berries.
- Keep the leftovers in the refrigerator, but be sure to cover them. Cheesecake will be good for consumption for the next 5 days, but in most cases, it barely survives tomorrow as it is eaten immediately.
Check out the recipe for making New York gluten-free cheesecake, it’s also one of our favorites this summer.
To Conclude
Embrace yourself to make this simple, yet so delicious cake. Its fantastic ingredients guarantee to satisfy everyone’s taste buds, even the most demanding ones. Have you tried this recipe before and how did it turn out? See you in the comments!
–

Author’s bio
Karen Rutherford is founder and editor in chief at King Desserts. You will often find her in the kitchen trying out some new recipes. As a pâtissière and baking enthusiast, Karen has decided to share her knowledge with the internet audience and provide the best tips and recipes for baking and decorating your favorite sweets.


This cheesecake was super amazing! Easy to make and quite tasty. Thanks for your delicious recipe!
Thanks so much Wonderful Cook! We appreciate the kind words 🙂